
I wrote recently that the best camera in the world is the one in your pocket. I still believe that. However, I have just had a couple of needs for specialised photography.
The challenge was to make some images that could be used as backgrounds for a slide presentation. I have always advocated that a slide presentation,
Powerpoint seems to be the standard term for one though I naturally prefer to use Keynote on my Mac or iPad,
should be more images and less words. Let the images tell as much of the story as possible or at least colour the discussion.
The Harvard Business Review has a good little story about presentations. “The Glance Test” Could be worth a look.
Aside: I once saw a presentation where the speaker had used a series of paintings by Bruegel (look him up) for his presentation. No words, just the pictures, then he used the sections of the images to mark his points. It was very clever. If you got bored with the content, the pictures were interesting.

So... my challenge:
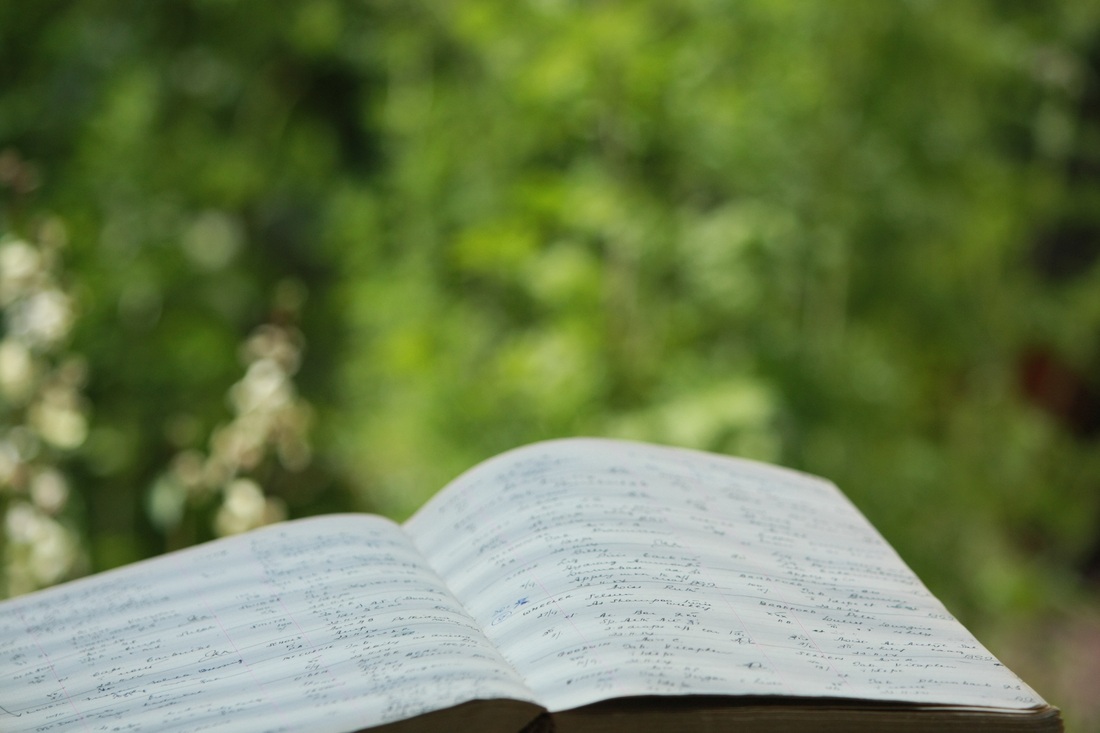
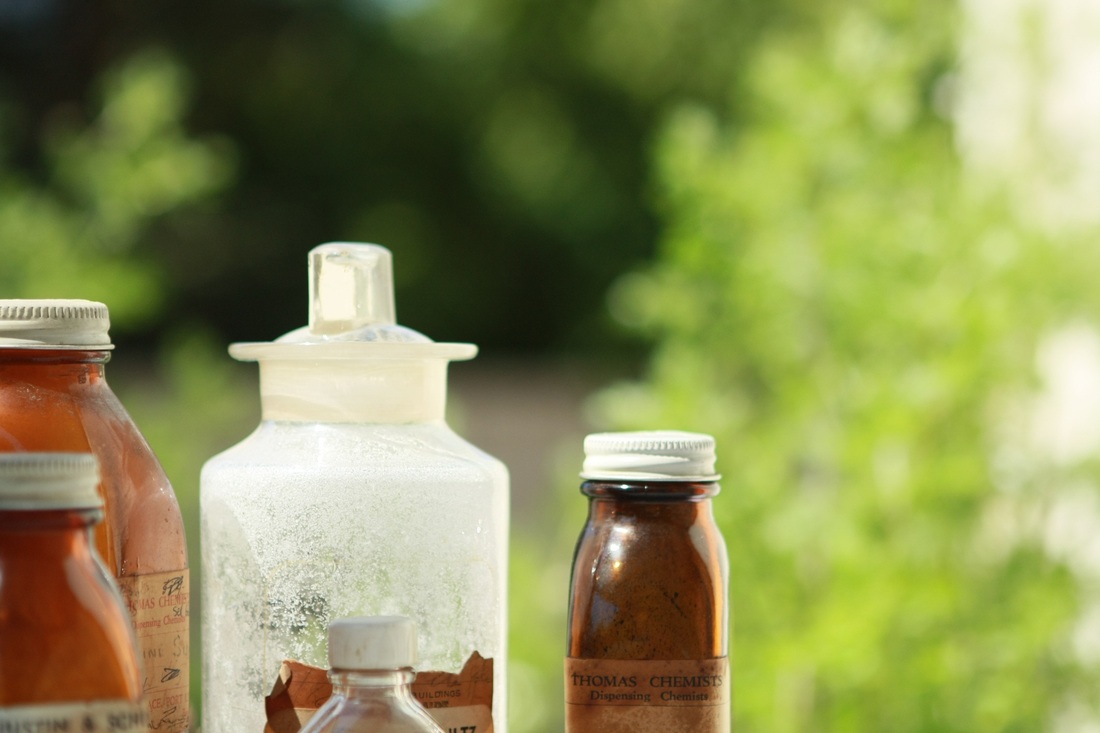
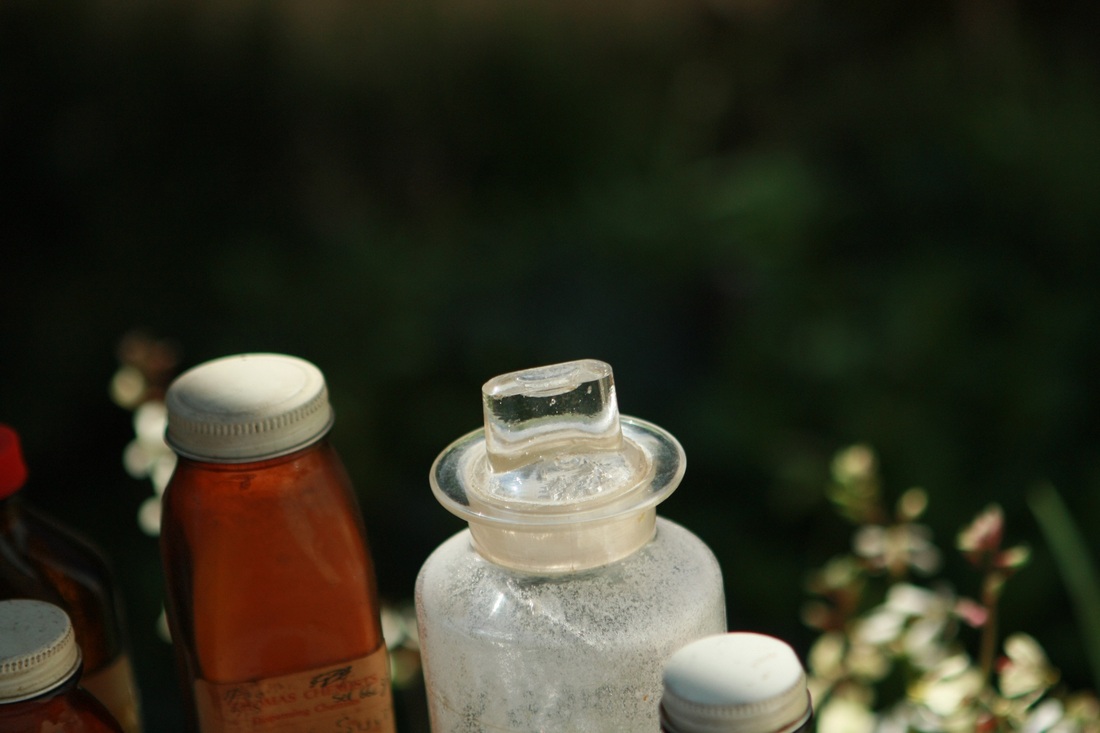
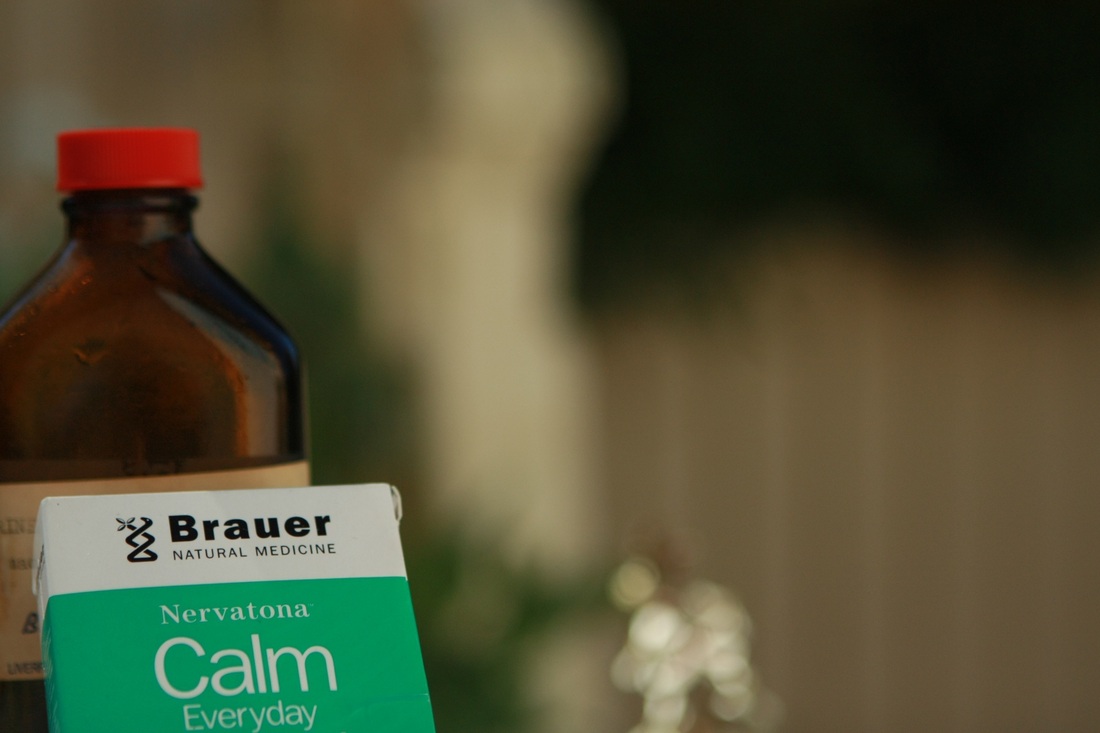
We wanted a series of photos that could be used as backgrounds for a presentation about homeopathy. We wanted photos of natural settings, gardens and herbs. OK, we know that is not what homeopathy is but pictures of water seemed less exciting.
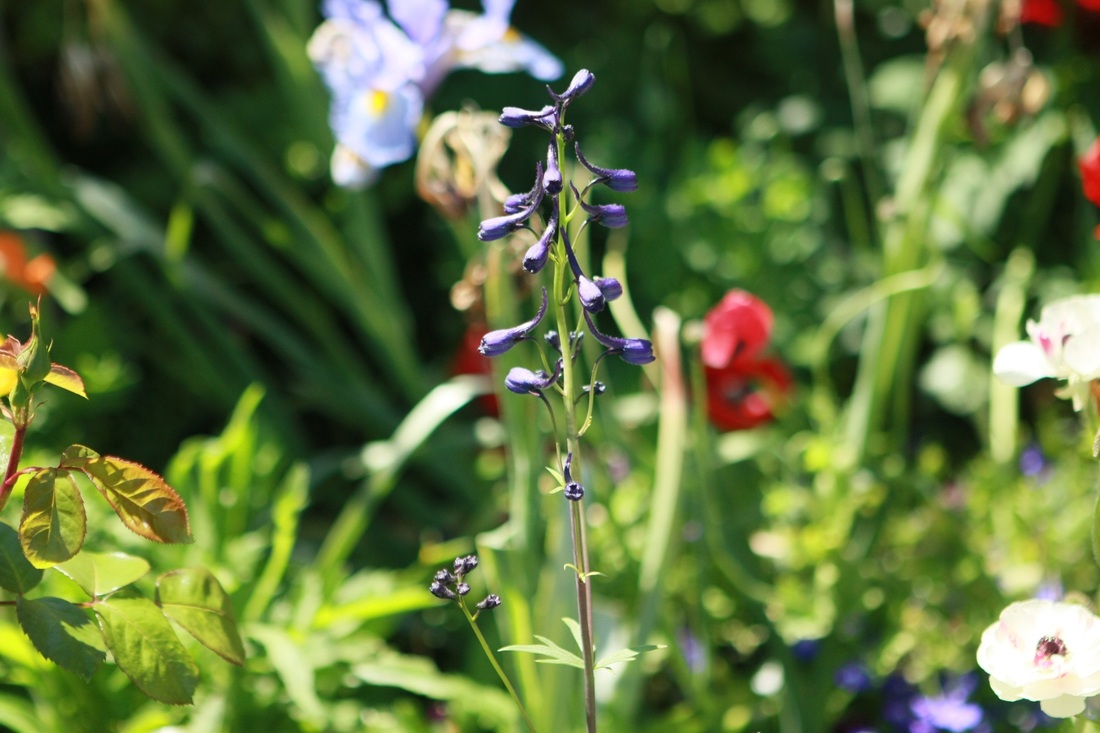
We have a lovely garden. It is small but our weed control method is over planting so it looks amazingly lush most of the year. This would be the setting for the photographs.
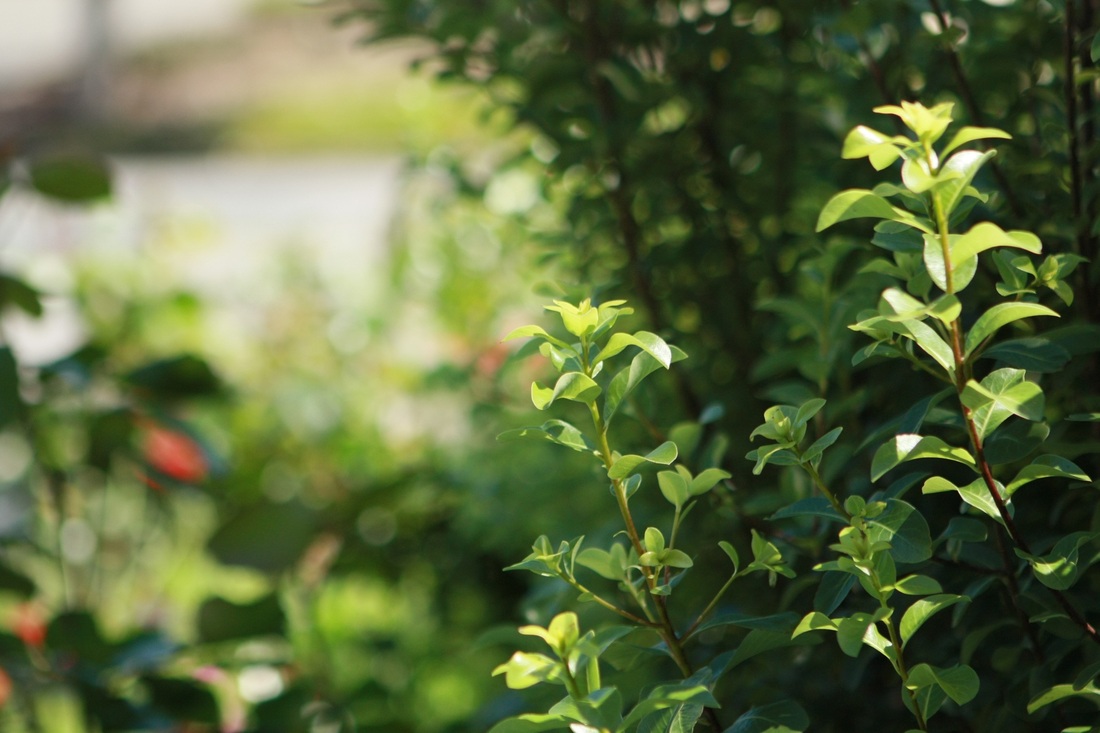
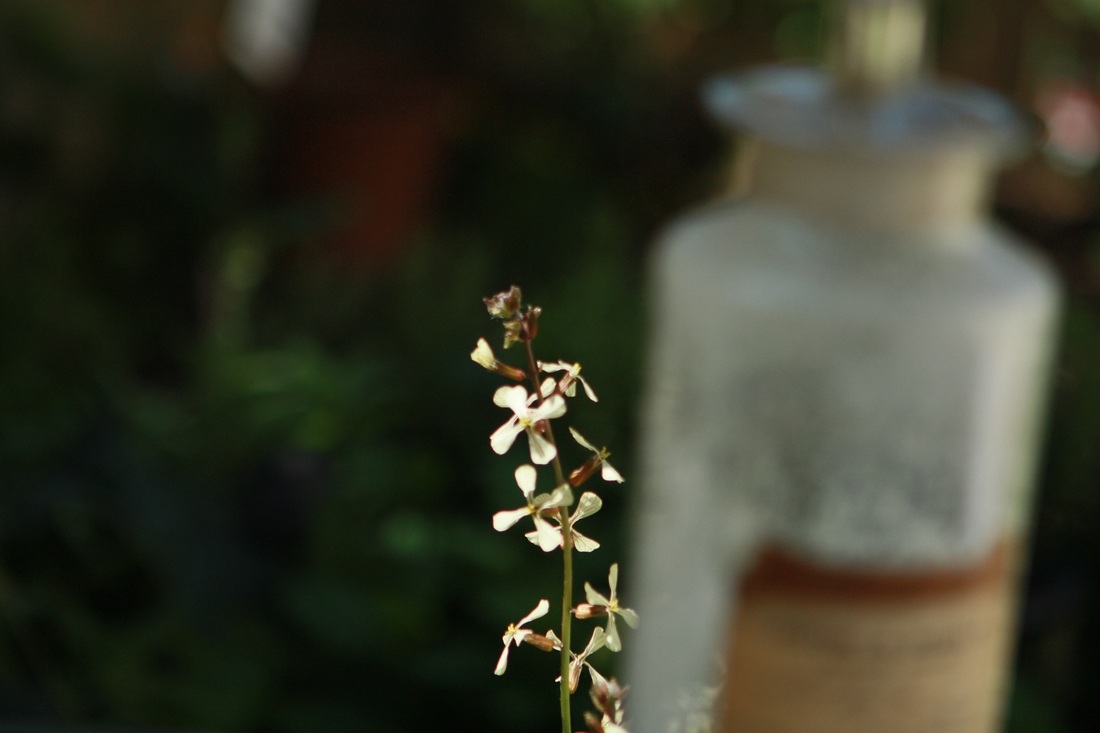
There is another important consideration. The photos need to be visible but not dominate the content. We wanted individual elements to stand out but most of the shot to disappear in blur. This would make a delightful colour background on which to place the text of the presentation.
This kind of detail is a little more difficult with the camera I have in my pocket, even though it is a new iPhone. I decided to dig out all my camera gear and do the job properly.
I have some rather nice photo kit which gets little use these days but it is great to have a reason to charge the battery, drag out the tripod and mount an appropriate lens.
I wanted to use a very long lens so I settled on my 70 - 200 zoom lens. I also wanted a very shallow depth of field. That means I wanted much of the image to be out of focus with just a selected part of the image crisp and sharp. This requires a lens with a big hole for the light to pass through. This is known as the f stop of the lens. My lens has a biggest f stop of 2.8. The smaller the number, the bigger the hole, the shallow the depth of field.
I needed to force the camera to use this large f stop. Had I used auto it would have tried to get the largest area of the scene in focus. This would have gone to the biggest f number possible and the closest to 1/60 or 1/125 of a second. I set the camera to Aperture Priority and twisted the control till it said use f 2.8. The camera would now select a shutter speed based on a big hole at the front of the camera. On such a sunny day as this the camera selected between 1/1000 and 1/2500 of a second for the exposure.
I stood well away from my area of interest and zoomed in close. It is important to be zoomed in as close as possible to set the focus. You can always zoom further back to frame and set your shot after you have the focus point accurate, but you will better, crisper focus if you zoom in first.
I zoomed in and used the trick of the half press. I half pressed the shutter to set the focus on some specific element of the scene. It could be a flower, a bud or a prop I placed in the shot. Then I fired off some shots. I used the motor drive to take multiple shots with one press. My camera will give me about 3 shots per second. With this function I could move about with the camera firing off shot after shot as I experimented with composition.
I was set for a few hours of picture making.
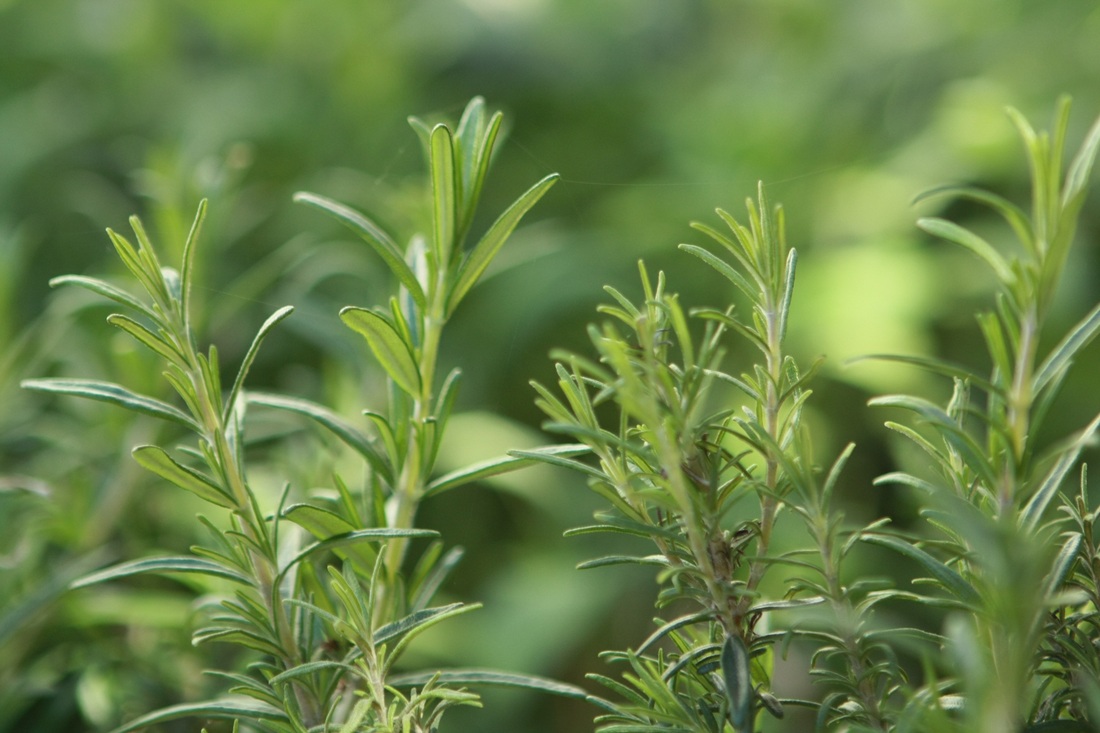
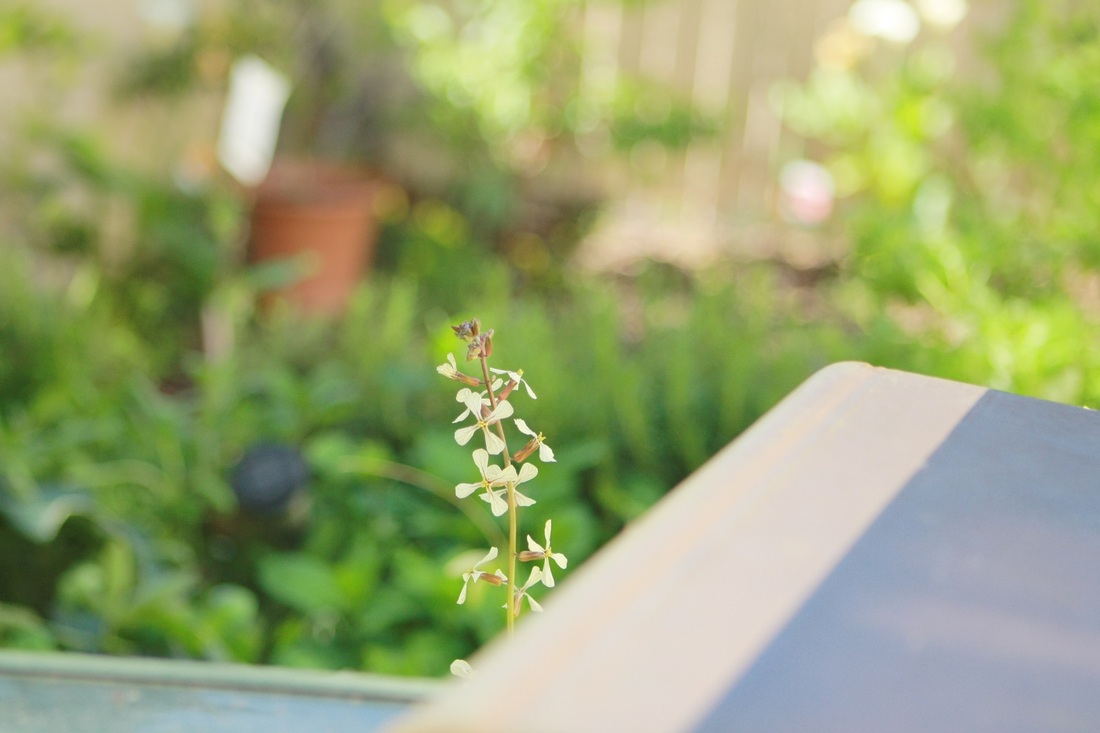
I made some shots of the herb garden with lots of mint (amazing how mint wants to take over a garden), rosemary, sage. I selected a leaf to focus on then took a bunch of shots to ensure the background was nicely blurred.
My key focus had to be the ultimate use of the images. This means I had to set the focussed part of the shot to one side of the finished image to allow space for the text to appear.
I am sure my camera can be told to focus anywhere I want but I am happy with the focus point being in the centre of the frame. I half press the trigger and the camera focusses, and exposes. Then I move so the focussed item is to the side of the shot while holding the trigger. Then I finish the press. The shots fire away.
I spent the next 2 or 3 hours firing away and ended up with 400 shots of the garden.
Now comes the most difficult part, which shots will become the dozen or so needed for the presentation. There will be a few hours spent on that one I am sure.
We wanted a series of photos that could be used as backgrounds for a presentation about homeopathy. We wanted photos of natural settings, gardens and herbs. OK, we know that is not what homeopathy is but pictures of water seemed less exciting.
We have a lovely garden. It is small but our weed control method is over planting so it looks amazingly lush most of the year. This would be the setting for the photographs.
There is another important consideration. The photos need to be visible but not dominate the content. We wanted individual elements to stand out but most of the shot to disappear in blur. This would make a delightful colour background on which to place the text of the presentation.
This kind of detail is a little more difficult with the camera I have in my pocket, even though it is a new iPhone. I decided to dig out all my camera gear and do the job properly.
I have some rather nice photo kit which gets little use these days but it is great to have a reason to charge the battery, drag out the tripod and mount an appropriate lens.
I wanted to use a very long lens so I settled on my 70 - 200 zoom lens. I also wanted a very shallow depth of field. That means I wanted much of the image to be out of focus with just a selected part of the image crisp and sharp. This requires a lens with a big hole for the light to pass through. This is known as the f stop of the lens. My lens has a biggest f stop of 2.8. The smaller the number, the bigger the hole, the shallow the depth of field.
I needed to force the camera to use this large f stop. Had I used auto it would have tried to get the largest area of the scene in focus. This would have gone to the biggest f number possible and the closest to 1/60 or 1/125 of a second. I set the camera to Aperture Priority and twisted the control till it said use f 2.8. The camera would now select a shutter speed based on a big hole at the front of the camera. On such a sunny day as this the camera selected between 1/1000 and 1/2500 of a second for the exposure.
I stood well away from my area of interest and zoomed in close. It is important to be zoomed in as close as possible to set the focus. You can always zoom further back to frame and set your shot after you have the focus point accurate, but you will better, crisper focus if you zoom in first.
I zoomed in and used the trick of the half press. I half pressed the shutter to set the focus on some specific element of the scene. It could be a flower, a bud or a prop I placed in the shot. Then I fired off some shots. I used the motor drive to take multiple shots with one press. My camera will give me about 3 shots per second. With this function I could move about with the camera firing off shot after shot as I experimented with composition.
I was set for a few hours of picture making.
I made some shots of the herb garden with lots of mint (amazing how mint wants to take over a garden), rosemary, sage. I selected a leaf to focus on then took a bunch of shots to ensure the background was nicely blurred.
My key focus had to be the ultimate use of the images. This means I had to set the focussed part of the shot to one side of the finished image to allow space for the text to appear.
I am sure my camera can be told to focus anywhere I want but I am happy with the focus point being in the centre of the frame. I half press the trigger and the camera focusses, and exposes. Then I move so the focussed item is to the side of the shot while holding the trigger. Then I finish the press. The shots fire away.
I spent the next 2 or 3 hours firing away and ended up with 400 shots of the garden.
Now comes the most difficult part, which shots will become the dozen or so needed for the presentation. There will be a few hours spent on that one I am sure.


 RSS Feed